


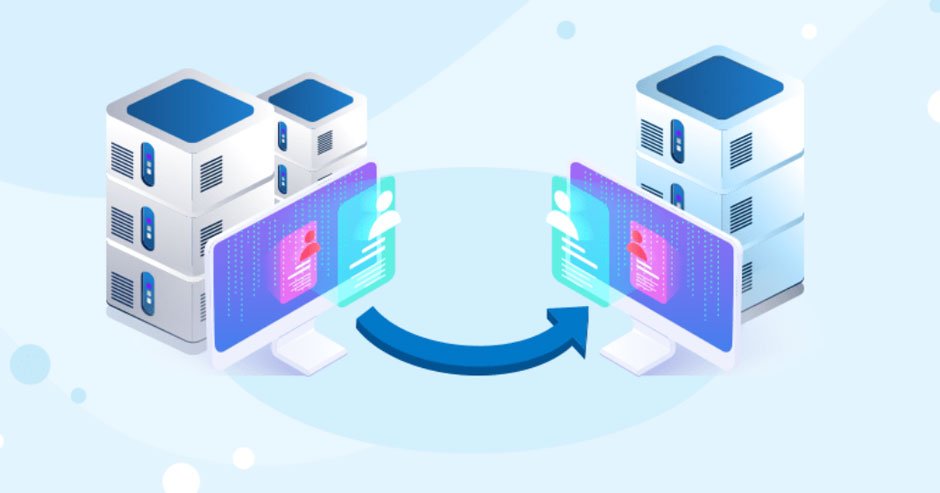
Migrating to virtual private servers (VPS) is a strategic upgrade for improving your website’s performance, scalability, and security. Whether you’re moving from shared hosting or switching providers, ensuring a smooth migration is crucial to avoid downtime and data loss. Here’s a step-by-step guide to make your transition to virtual private servers seamless.
Why Migrate to Virtual Private Servers?
Virtual private servers offer significant advantages over shared hosting. With dedicated resources and an isolated environment, VPS ensures consistent performance regardless of other users on the server. They are also highly scalable, allowing you to adjust resources like CPU, RAM, and storage as your website grows. VPS is ideal for websites experiencing increased traffic, requiring advanced configurations, or needing enhanced security.
Assess Your Current Hosting Needs
Before migrating, analyze your existing hosting setup. Identify limitations such as slow load times, lack of resources, or restricted server configurations. Determine what your website will need in the future, such as additional storage, support for specific software, or the ability to handle traffic surges. This evaluation will help you select a VPS plan that matches your requirements.
Choose the Right Virtual Private Server
Selecting the appropriate VPS plan is critical for a successful migration. Consider the following factors:
- Operating System: Decide whether your website requires a Linux or Windows-based VPS, depending on compatibility with your applications.
- Managed vs. Unmanaged VPS: Managed VPS plans include provider support for server management, while unmanaged VPS gives you complete control but requires technical knowledge.
- Scalability: Opt for a plan that allows easy scaling to accommodate future growth.
- Performance and Security Features: Ensure the VPS offers robust hardware, DDoS protection, and regular backups.
Back Up Your Website Data
Before making any changes, create a complete backup of your website, including files, databases, and configurations. This ensures you have a fallback option in case of errors during the migration. Use backup tools provided by your hosting provider or manual methods like FTP for files and phpMyAdmin for databases.
Set Up Your New VPS
Once you’ve chosen a VPS plan, configure the server to suit your website’s needs. Install necessary software, including web servers (Apache, Nginx) and database management systems (MySQL, PostgreSQL). If you’ve opted for an unmanaged VPS, you’ll need to handle these configurations yourself. Managed VPS plans typically have pre-installed software and a control panel for easier setup.
Transfer Website Files
Move your website’s files and data from your current host to the VPS. Use a Secure File Transfer Protocol (SFTP) client like FileZilla to upload your files to the new server. Ensure all folders, media files, and configurations are transferred accurately.
For websites with databases, export your database from the old host and import it into the new VPS using tools like phpMyAdmin or command-line utilities. Update database credentials in your website’s configuration files to match the new VPS setup.
Update DNS Settings
After transferring your website, update your domain’s DNS settings to point to the new VPS. Log in to your domain registrar’s control panel and modify the A-records to reflect the new server’s IP address. DNS changes may take up to 48 hours to propagate, during which traffic may be split between the old and new servers.
Test Your Website
Thoroughly test your website on the new VPS before fully switching. Check for broken links, missing files, and errors in functionality. Use the VPS’s temporary URL or IP address to preview your site. Test critical features such as forms, logins, and dynamic content to ensure everything is working correctly.
Monitor and Optimize
Once your website is live on the new VPS, monitor its performance closely. Use server monitoring tools to track resource usage, page load times, and uptime. Optimize server configurations, enable caching, and implement content delivery networks (CDNs) if necessary to improve speed and reliability.
Conclusion
Migrating to virtual private servers offers a wealth of benefits, from enhanced performance to greater control over your hosting environment. By carefully assessing your needs, backing up your data, and following a structured migration process, you can ensure a seamless transition. Hosting providers like InMotion Hosting offer robust VPS solutions that support scalability and reliability. With the right VPS setup, your website will be well-equipped to handle growth, deliver a superior user experience, and meet future challenges.