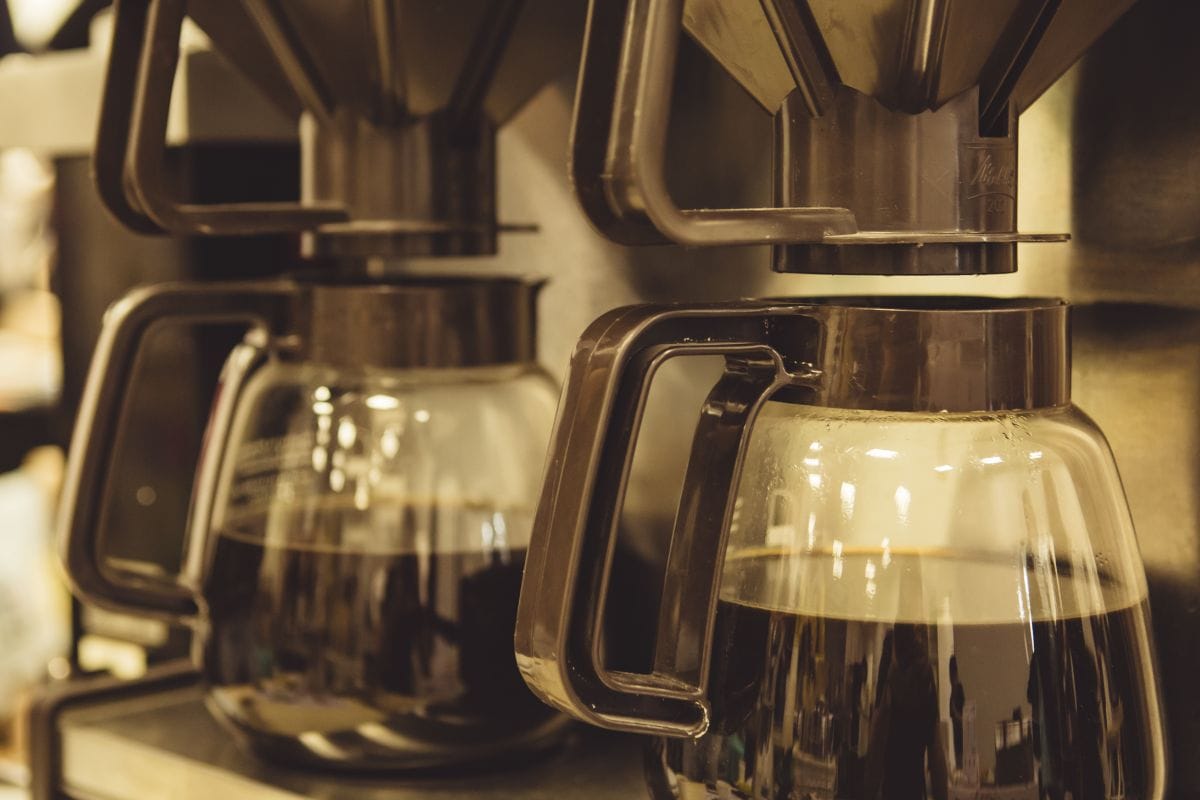


Nothing can mess up a perfect morning like not being able to enjoy your favorite espresso drink from your Gaggia Classic.
If you find yourself facing this disappointing situation, fear not. In this troubleshooting guide, we’ll delve into the reasons why your Gaggia Classic won’t turn on and provide step-by-step solutions. So, stick around!
Why Won’t My Gaggia Classic Turn On?
Before beginning your investigation, check if your coffee maker is old. Typically, these machines last a decade or two. Afterward, they may stop working. In that case, you need a professional’s help to fix your household machine.
However, if your coffee maker is new, here’s a step-by-step troubleshooting guide to get your espresso machine back in action:
1. Recent Shipment or Movement
If your Gaggia Classic has been recently shipped, transported, or moved, there’s a possibility of a disconnected wire from the transportation process. To investigate:
- At the back of the machine, use a Phillips head screwdriver to unfasten the two screws that secure the black plastic cover.
- Gently raise the housing; note that the black plastic and stainless steel components are interconnected and will detach simultaneously.
- Thoroughly examine the socket where the power cord interfaces with the machine, ensuring the secure attachment of both wires.
- In the case of loose wires, reconnect each to their designated positions in the socket and press the power button to check if the machine is on.
2. Checking the Power Cable
If the power light still won’t turn on after connecting loose wires, it might be a cable issue.
Ensure to firmly plug the cable into the socket located at the back of the machine and press the power button.
If the espresso maker is still not working, change the power cord. Additionally, use another appliance to check the outlet. Proceed to the next step if the problem isn’t resolved.
3. Fuse Replacement
If you tried the above steps and your Gaggia still won’t turn on, most likely the issue is in the fuse.
That’s especially true when the espresso maker stops powering on suddenly after months or years of operation. In that case, all you need to do is replace it.
Before starting, however, make sure the machine is unplugged and replace the fuse with one of the same rating (both in voltage and current).
That’s to avoid damaging the circuit or having a fuse blow up. This should resolve the power issue, and your Gaggia Classic should turn on smoothly.
How to Replace the Thermal Fuse of Gaggia Classic
Before fixing the thermal fuse, make sure to read the user manual to know the proper safety precautions and familiarize yourself with the components. Once you get that done, here’s what to do:
Step 1: Gather the Necessary Tools
To ensure a smooth and safe DIY process, gather the following handy tools:
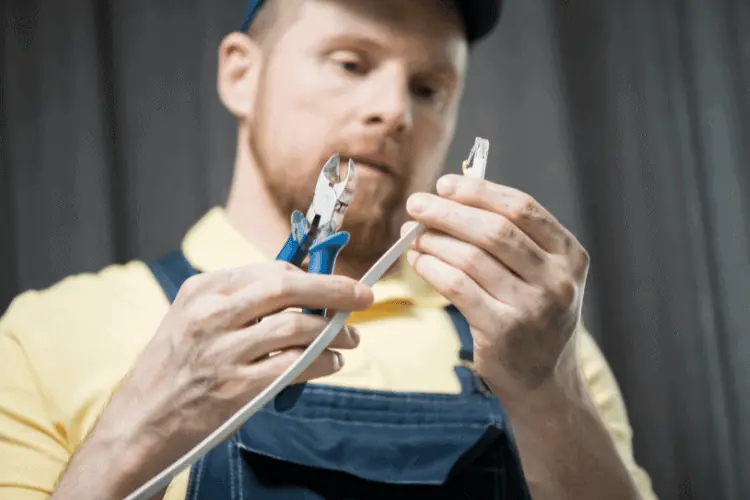
- Wire strippers
- Crimping tool
- Phillips and flat-blade screwdrivers
- Zip ties
- New thermal fuse
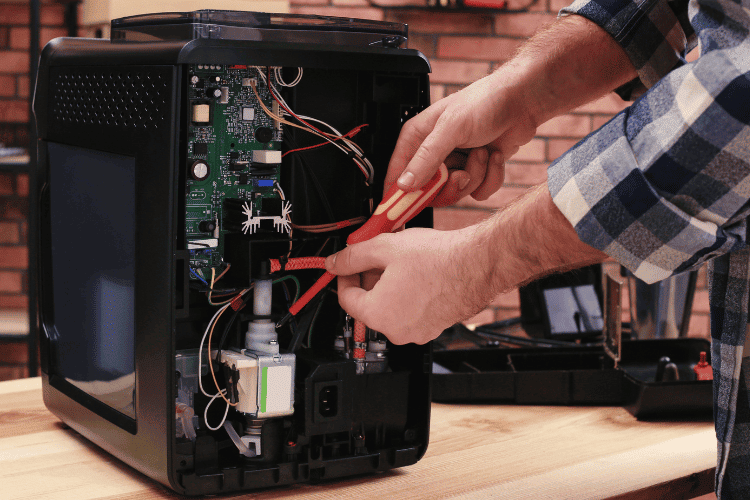
Step 2: Remove the Fuse
To remove the old fuse from your household machine, follow these steps:
- Remove the funnel lid from the top.
- With a Phillips screwdriver, remove the two screws, allowing you to slide the top lid out.
- Locate the thermal fuse inside a rubber tubing on top of the boiler.
- Remove the switch housing for easier access to the thermal fuse.
- Use a flat screwdriver to release the spring clips on both sides and take out the switch’s metal frame.
- Press on the spring clips again and slide the switch out.
- Capture a photo of the wire setup before detaching some wires to access the fuse.
- Use a Phillips screwdriver to unscrew the securing bracket.
- With a wire cutter, unfasten the zip ties. Then, slide the rubber tube off the fuse.
- With a wire-cutting tool, trim both ends of the fuse right at the butt connection and remove it.
Step 3: Attach the New Thermal Fuse
Now, all you need to do is attach the new thermal fuse. Here’s how:
- Using a wire stripper, remove a bit of the fuse wire’s rubber cover.
- Hold the butt connectors with a crimping tool, slide them onto each wire end, and press to flatten the connectors.
- Repeat the crimping process on the other side of the fuse.
- Hold the open end of the butt connectors with the crimping tool, slide one end of the fuse, and secure it.
- Repeat the same process on the other end.
- Slide the rubber tubing over the fuse, ensuring proper coverage.
- Secure the fuse back to the boiler by screwing the bracket in place.
- Reconnect the wires, add new zip ties for organization, and slide the switch back into position.
- Test the Gaggia household machine to ensure it’s back in action by checking if the power light is on.
Troubleshooting Common Gaggia Classic Problems
After changing the fuse, consider checking other components, such as the steam knob, filter baskets, and drip tray, for any signs of wear or malfunction.
Remember, a well-maintained Gaggia Classic is the key to a consistently perfect brew. Here’s how to troubleshoot some common component issues:
Machine not heating: This could be a heating element problem. Check if the thermostat has any loose wires. Test if hot water starts streaming out. If it doesn’t, you might need to change the thermostat.
No water flow: Inspect the water reservoir and press three buttons along with the steam wand. If water doesn’t flow, you might need to prime the pump, change the filter basket, or replace the solenoid valve.
No steam power: Open the steam knob and run a test. If no hot water runs through, it may be a heating element problem. If no water comes out, the pipes might be blocked.
Conclusion
So, why won’t my Gaggia Classic turn on?
Several reasons can cause a Gaggia Classis power failure. From checking for loose wires to ensuring a secure power cable connection, these steps can often pinpoint and resolve the issue.
If all else fails, replacing the fuse, especially if the machine stops suddenly, can be a game-changer.
By following these troubleshooting and replacement steps, you can revive your Gaggia Classic and look forward to enjoying your favorite espresso shot every morning!