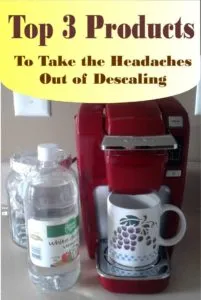
 How you can descale your Keurig brewer with, or without vinegar if it has let you down, or if you have a single-serve model that’s of a brand that discourages its use, will be front and center in this article.
If this is your first brewer and you have no idea what descaling is, that’s okay, I’ll cover everything you need to know to get started! Or if you just need advice about doing a better job, what kind of products work best, or just circumventing those pesky readout errors, you’ll find answers to that too.
It’s all a matter of understanding basic chemistry and how certain materials interact with your appliance – don’t worry this is not going to be like a chemistry class or anything.
Barring the exclusive use of distilled water or the presence of an in-line water tank hookup, there will be very few scenarios in which the descaling procedure will not be important. So let’s roll up our sleeves and get to it. But first…
What Does It Mean to “Descale” Your Brewer?
Glad you asked. When you’ve had a single-serve brewer like a Keurig (or similar brand, for that matter) for a certain length of time, buildup develops on the inner parts, causing brewing problems.
Do any of these scenarios ring a bell for you?
- The exit needle clogs up which causes water to back up and not flow correctly.
- The water pump isn’t working well, due to certain blockages
- Not getting enough water for the preset brew cycle (e.g. 6 oz from an 8oz setting)
- Strange noises like “gurgling” that are out of the ordinary
The buildup is usually made up of deposits of minerals like calcium, limescale, etc. that are naturally present in hard water. The term “descaling” itself sounds kind of bad because a word like “scale” makes you first think of limescale and other cruddy stuff – icky right?
“Hard” water is characterized by the presence of minerals. Just about every source you find today fits this description, with the exception of softened and distilled (also known as “demineralized”) water.
You may also find helpful: Water Quality and Your Brewer-Relationship
Descaling involves the use of a product or substance that is acid-based, to break up all of that buildup and flush it out. The mineral deposits that get into the brewer’s interior are highly alkaline, and if you remember from science class, alkaline and acids are compound polar opposites.
Most descaler products include white vinegar, and citric acid, among other things. We’ll go over all of them here in the next sections.
How Often Should Descaling Be Performed?
As a general rule of thumb, you should descale your Keurig brewer once every three months. Most owner manuals state this. If you have especially hard water, possibly more often.
If you only use distilled water in your brewer, you may be able to get away with not descaling at all. I know somebody like this – but this is the one exception. And if your brewer is of the 2.0 series, you may not be able to use distilled water as the sensors in their work against it. Not everybody likes distilled water as some people say it has a “flat” taste.
Other Factors
Generally, a red “descale” light comes on most Keurig brewers (with the exception of mine and a few other models) whenever something triggers the flow of water.
Sometimes, the descale light just doesn’t go out, even after you’ve already done your duty. It can be annoying – if this happens to you, what should you do?
- Sometimes you can reset the brewer settings – pushing the 8 and 10 oz buttons at the same time and holding for 5 seconds will do the trick (depends on the model, however)
- You may need to clean out the exit needle – easy to do with a bent paperclip.
- Â You may need to perform another descale – if you see more pieces of debris or loose grounds coming out the second time, you’ll know that there was still additional gunk that needed to be cleared out.
Now, the part you want to know about the most – is the actual procedure of how to descale your Keurig brewer! We will start with the products…
Homemade Descaling Products
Some of the best products you can use to perform a descale on your brewer are natural and may be right there in your kitchen pantry. Vinegar is the most common, White distilled vinegar is the most preferred but I have heard of people having success with apple cider vinegar, too.
Another good choice is lemon juice, as it’s highly acidic, easy to obtain, and it’s definitely going to smell good, that’s for sure. At 6 percent citric acid this is the equivalent of diluted vinegar. you have a pretty good substitute on your hands.
You can pour some in and around the chamber and scrub it a little with an old toothbrush and fill the reservoir with it to perform the de-scale. Follow what your usual steps would be using vinegar/water and run a K-cup-less cycle until the water runs cleanly to not notice any weird aftertaste.
Another good product to look into is citric acid. You may be familiar with it already, it’s a prime ingredient used to make bath bombs, to make them “fizz”. It’s also the prime ingredient in some commercial descalers, too, so it you wanted to save a little money you could pick up a bottle of it instead! To make full use of it, I recommend 2 tablespoons of citric acid plus 4 cups of water (equal to 1 liter) and performing the procedure as laid out in the vinegar section (keep reading…)
 Descaling With Vinegar
Vinegar’s long history as a seasoning agent, medicinal tonic, and cleaning uses is long and profound, so it stands to reason that it is highly effective. It is comprised of acetic acid meaning that it can dissolve mineral deposits with ease including residual buildup. Not to mention it’s also cheap and you can buy it practically anywhere.
That being said, vinegar is highly corrosive when it comes to electrical and metal components and this can cause trouble with the more sensitive anatomy of your Keurig machine’s inner workings including the pump and the solenoid valve.
Which is why it’s so very important to dilute it. As stated in a previous post on descaling my small Keurig I always stick to a 1 part water to one part vinegar ratio.
The Procedure
- Make sure there is nothing in the k-cup holder/chamber, Set a standard-sized cup into the cup rest area
- Pour your 1:1 ratio of vinegar/water into the reservoir. How much you use will depend on the size of the reservoir. One recommendation is 2 cups vinegar plus 1 cup water for the Classic Keurig series.
- Set a brew cycle-choose the largest brew size setting and hit “Brew”
- . Let it do its thing.
- Afterward, examine the contents…do you see some floating debris? If so that’s a sign you had some buildup.
- Wait about 15 minutes to an hour – this will allow the remaining vinegar/water mixture to “soak in” and work its magic.
- Perform another brew cycle just like in step 3, Check again for any more debris, and if any residual vinegar smell remains if not a few moments later run another rinse. Two should probably do it.
Descaling Without Vinegar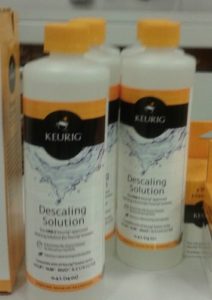
You may want to go a different route if white vinegar has not been satisfactory, or if the model you own does not recommend its use. Many times, it’s stated in the product manual), so be sure to read up on it first. For almost all brewers I’ve seen, the manuals almost ALWAYS have a section on how to descale them.
But yes, you absolutely can descale a Keurig without vinegar. The main ways are to use a proprietary brand of descaler, like the one to the right, or choose a brand that works with many different models.
You’ll want to follow a similar approach to the steps mentioned earlier in which you run a cycle with nothing in the pod holder and then do a hot water rinse to be sure that the substance (along with the offending debris) has been cleared up.
Vinegar-less descale procedure
Here’s a full run-down of a vinegar-less descale procedure:
1. Before you proceed, be sure to read the labeling carefully and choose the solution made for the right “line” of Keurigs yours belongs to…some will not work out with the 2.0 models (for example, CleanCup) Also with regard to some agents that include a 2-step with a K-cup shaped product, these will not work with the Vue series models as they don’t have that v-shaped protrusion on one side.
2. Pour the solution into the reservoir as per labeling; how much to use may depend on the size of the reservoir. If you are using a “2-step formula” the K-cup goes into the chamber just like you were actually making coffee and the tablets are dropped into the full reservoir in the back.
3. If running with a liquid solution product, perform a brew cycle as you normally do when you make coffee only nothing is going into the chamber.
4 Empty dispensed product out. You may see pieces of gunk and debris coming out which is completely normal. You may want to use a toothpick to loosen up any additional gunk that’s on the way out.
5. Perform a thorough, clear h20 rinse afterward as it may take up to 2-3 rinses to complete it and not run into any funky tastes in subsequent coffee brews..
Other Cleaning Tips
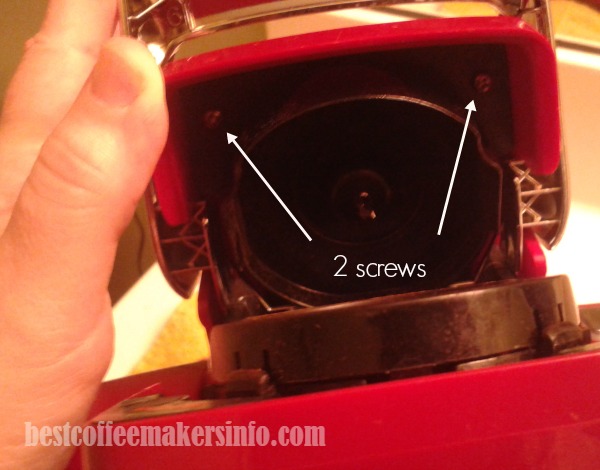
Don’t forget removable parts such as the drip tray, assembly housing, and removable reservoir, they all need cleaning too! A few things that can help with such areas as the inside of the K-cup chamber are canned air, an old toothbrush, and a bent paper clip.
Toothbrushes let you get in and out of the chamber area easily. The use of canned air (labeled as made for “dusting electronic parts”) is a great tool for the piercing needle, where gunk can accumulate and lead to a stop-up.
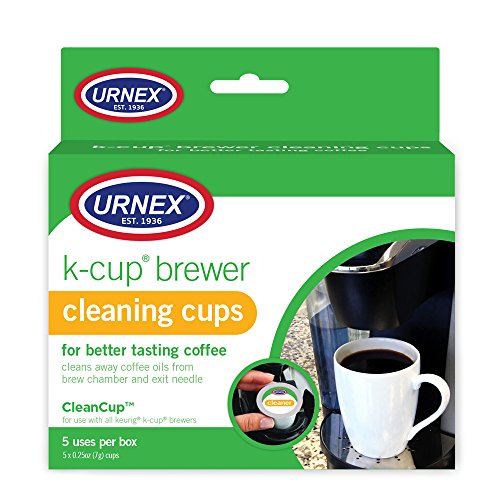
Urnex K-Cup Cleaner – For Keurig Machines Compatible with Keurig 2.0 – Removes Stains Non Toxic
Commercial Descaling Products
Some brewer companies strongly encourage the use of proprietary descaling solutions. Nespresso is a good example. Another is Nescafe, which produces the Gusto line. I know it’s tempting to want to try out homemade prospects, but for some machine brands, you could void the warranty if you use the “wrong” substance and damage results. Sometimes the products come in tablets, sometimes a solution and sometimes there’s a unique K-cup-shaped agent as well.
There are also some that are “2 steps” meaning they consist of a combo of these products that you use together Some help to kill bacteria and mold that could cause problems as well. If you find a product whose active ingredient is citric acid, you’re in the ballpark.
==>>Although ingredients like citric acid are labeled as non-toxic, be careful not to breathe in some of these solutions and dilute them with the manufacturer’s recommended amount of water before use.
Pro Tip: Look for a product labeled as “NSF certified for metal compatibility”. Meaning you shouldn’t have any worries about the damage done to your Keurig’s inner workings.
Some highly-rated descaling products:
Full Circle Coffee and Espresso Descaling Liquid – 4 oz [ 2 Single Use Bottles ]![Full Circle Coffee and Espresso Descaling Liquid - 4 oz [ 2 Single Use Bottles ]](https://easyproductdisplays.com/wp-content/uploads/2017/07/buy5.gif) Urnex Dezcal Coffee and Espresso Descaler and Cleaner – 4 Uses
Urnex Dezcal Coffee and Espresso Descaler and Cleaner – 4 Uses Descaling Solution Coffee Maker Cleaner – Simple All Natural 8 Uses Per Bottle
Conclusion
Now you know the right way to descale a Keurig and that it’s easier than you think as long as you do your homework and choose a good product to work with.
Good luck!
More info you may find helpful:
Chemical Composition of Vinegar
National Sanitation Foundation Additional information – NSF


![Full Circle Coffee and Espresso Descaling Liquid - 4 oz [ 2 Single Use Bottles ]](https://images-na.ssl-images-amazon.com/images/I/51DQRPdC3PL.jpg)


